.png)
Authored by: Support.com Tech Pro Team

Two of the most common symptoms of the Microsoft Outlook IMAP Error Code 0x800cccdd are that you will get the error message. In addition, if your IMAP server terminates the connection, the Outlook application will frequently freeze while in use. In this guide, you'll learn how to fix Outlook IMAP error.
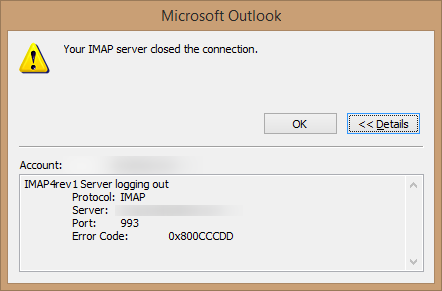


Most of the reported cases of Outlook IMAP error code 0x800cccdd have been triggered because of the Send/Receive feature.
Notably, this feature isn’t meant to work with an IMAP connection, which is why users are experiencing the error code 0x800cccdd problem.
Turning off the Send/Receive feature gives IMAP complete control to take over the proceedings of MS Outlook, and you can check if this fixes your issue or not.
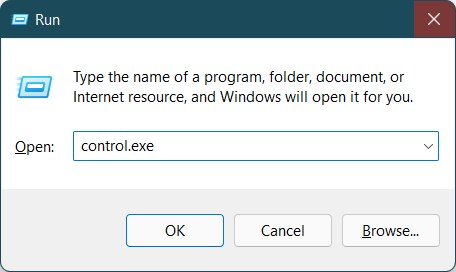
control.exe

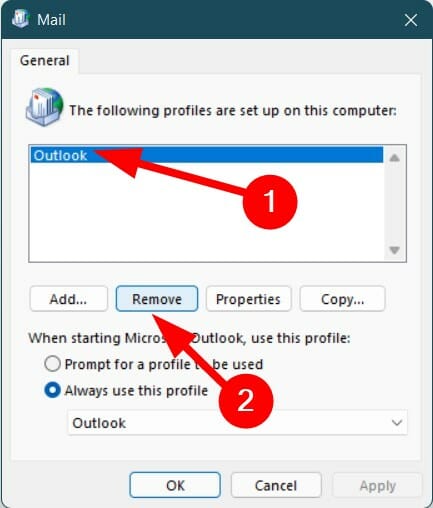
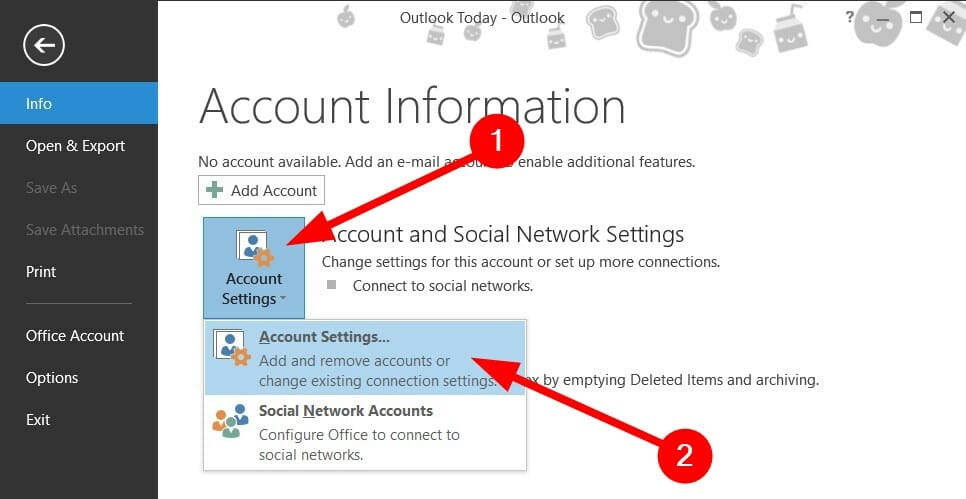
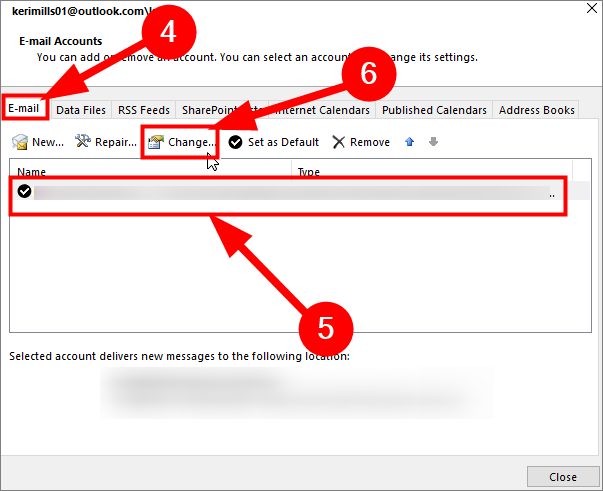
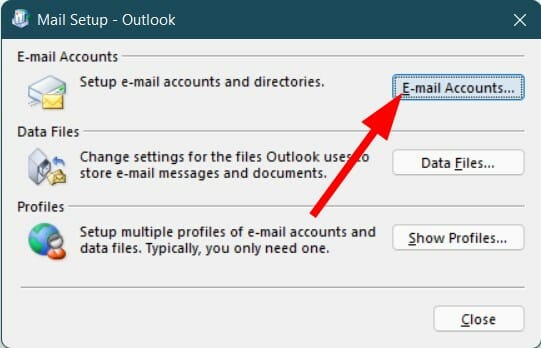
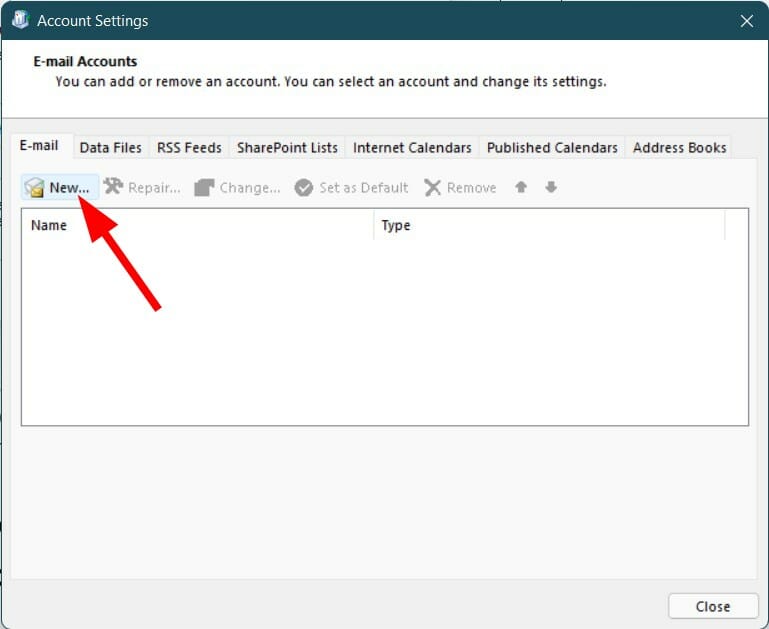
One of the most effective ways users have handled and permanently fixed this error code 0x800cccdd with Outlook is by deleting the existing profile and creating a new one from scratch.
You can follow the above steps and create a new Outlook profile and sync it with the client to see if this fixes the issue or not.
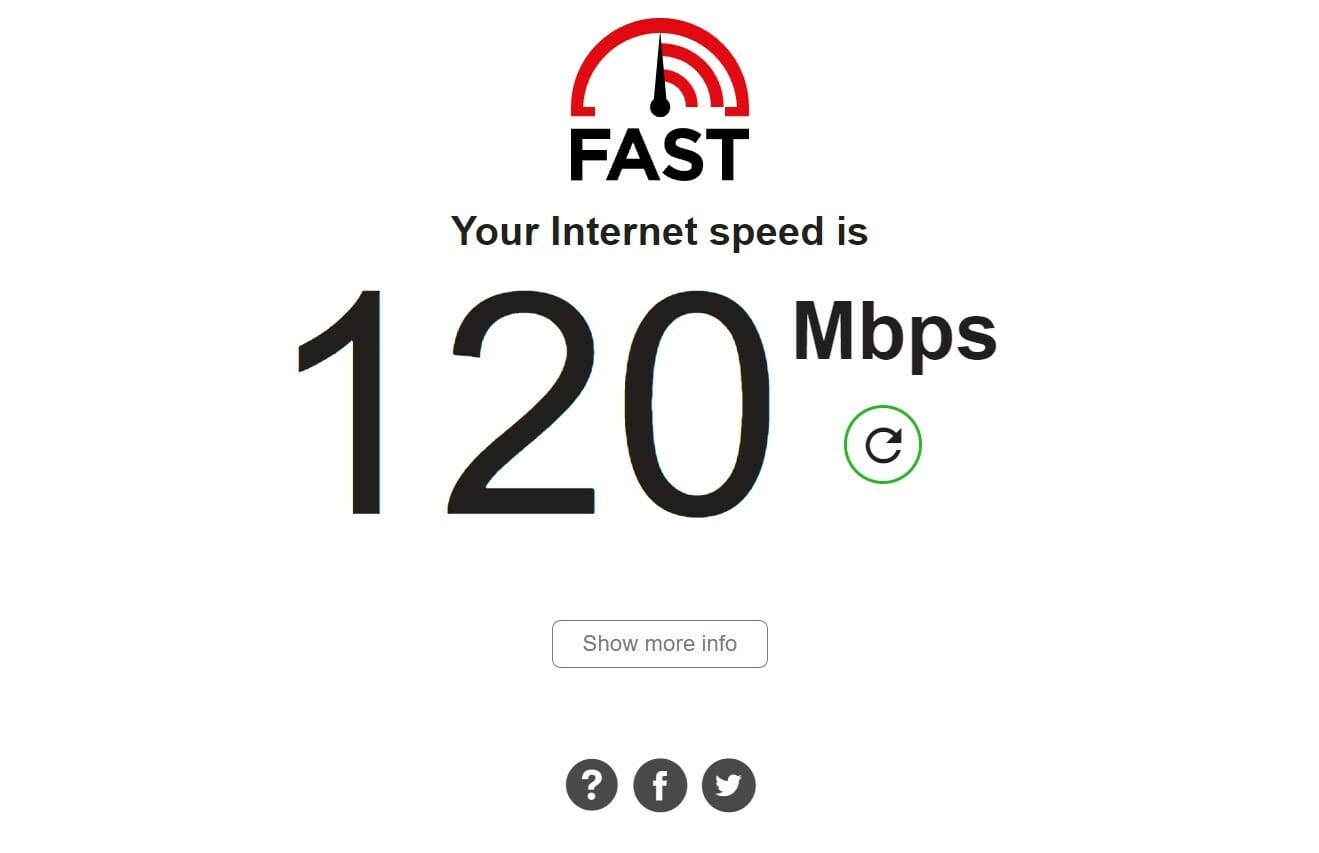
For MS Outlook to work perfectly, you need to have a stable and fast internet connection. In the case of a faulty internet connection, Outlook will not perform optimally and will have sync and other issues.
We suggest you check if your internet connection is functioning correctly or not. Moreover, you can use Fast.com or Speedtest.net to get an idea of the internet download or upload speeds you are getting and match them with your data plan.
If the speeds are poor and you are experiencing frequent network drops, then it is recommended that you contact your ISP and get your internet connection fixed.

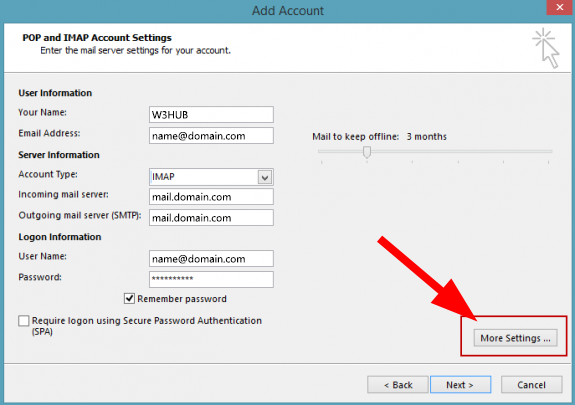
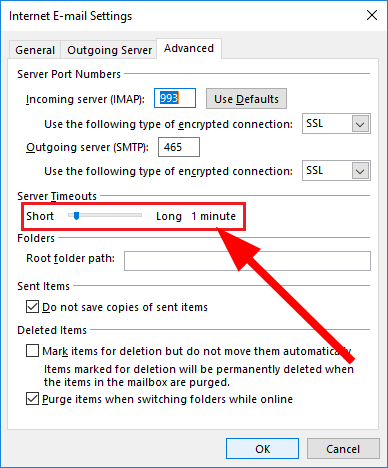
Outlook requires some time to send or receive information or procedures ultimately. By default, the server timeout frame is set to 1 minute.
If there are some underlying issues with your internet connection, then Outlook may not be able to perform the required procedures within the 1-minute timeframe.
For this reason, you can follow the above steps and extend the server timeout frame to the maximum, i.e., 10 minutes, giving Outlook more room to perform necessary actions.
C:\ Program Files - 64-bit VersionsC:\ Program Files - 32-bit Versions
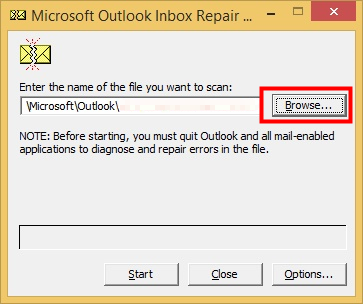
There is a built-in email-repair tool in Outlook called the ScanPST.exe utility. Users have reportedly been able to fix the 0x800cccdd error using this email repair tool.
It can perform a quick scan of Outlook to detect any corrupt or problematic files and repair them after your consent.
You can follow the above steps and initiate the ScanPST.exe email repair tool and check if this fixes the problem at hand or not.
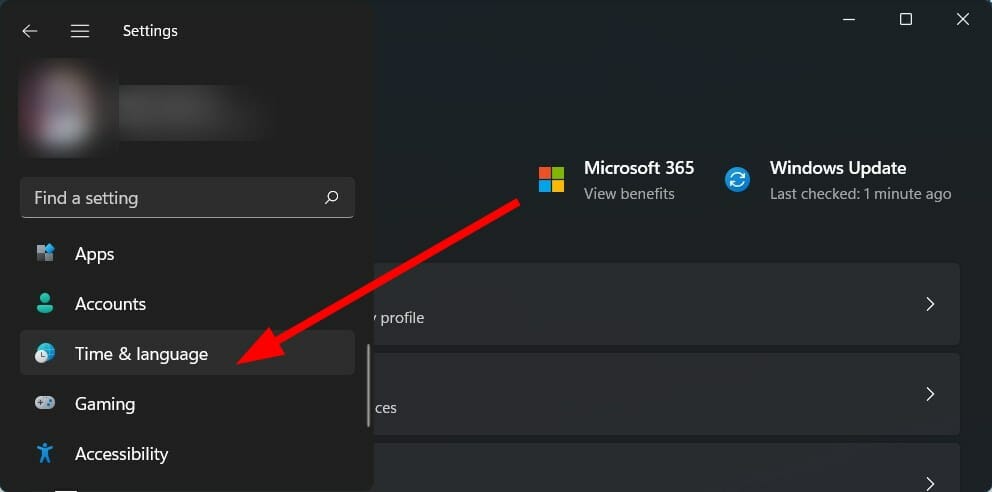
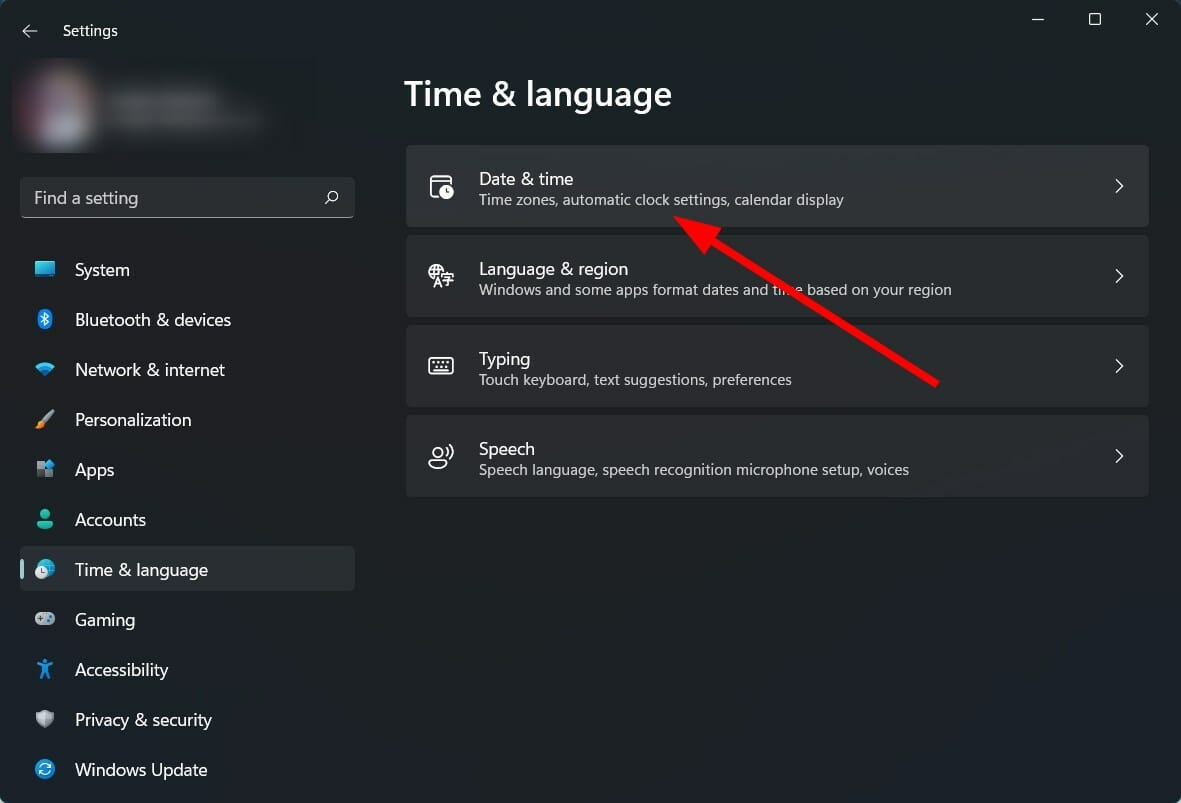
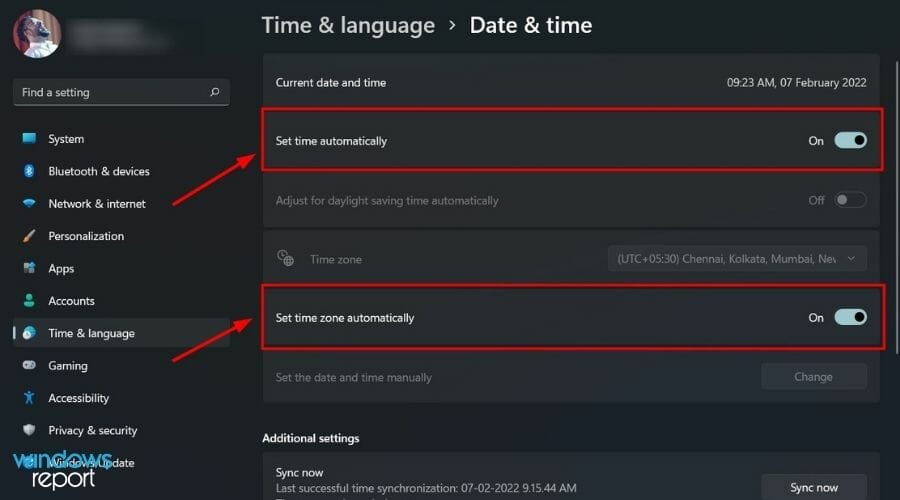
If there is a big difference between your local time and the time on the server, MS Outlook will misbehave and show errors, including 0x800cccdd.
You should set the correct date and time for Outlook to match it with the server because several users have fixed this issue with this simple solution.
control.exe


Support.com is committed to your privacy
We do not share or sell your data to third parties. We do use cookies and other third-party technologies to improve our site and services. The California Consumer Privacy Act (CCPA) gives you the ability to opt out of the use of cookies, third-party technologies and/or the future sale of your data. Do not sell my personal information.

Support.com is committed to your privacy
Read our Privacy Policy for a clear explanation of how we collect, use, disclose and store your information
