How to Fix the Outlook disconnected error on Windows
Authored by: Support.com Tech Pro Team
1. Introduction
Microsoft Outlook is a very powerful email client and is one of the best professional communication tools. But issues and bugs have been a part and parcel of this app, which has been troubling users for a long. Microsoft Outlook disconnected error is another connectivity error that practically makes the app useless.
In this guide, you'll learn how to fix the Outlook disconnected error on Windows.
2. If Disconnected after Password change
1. Delete old password from Windows Credential Manager
Press the Start menu key on the bottom task bar.
Search for Credential Manager.
Click on Windows Credentials option.
Under Generic Credentials, you will find your Microsoft Outlook and MS Office accounts.
Expand each one and delete them by pressing the Remove button.
Close Windows Credential Manager and open Outlook.
Enter your new password and remember to check the Remember my credentials box.
Microsoft Outlook users have reported an issue quite often for them just after a recent password change, they are facing connectivity issues with the Outlook client installed on their Windows 11/10/8 PC.
2. Create a new profile
Open Control Panel.
Select Mail.
Click on Add to create a new profile.
Configure your email account.
Check the circle beside Always use this profile.
Press OK.
Restart Outlook and see if this fixes the Outlook disconnected after password change issue or not.
3. Outlook disconnected error
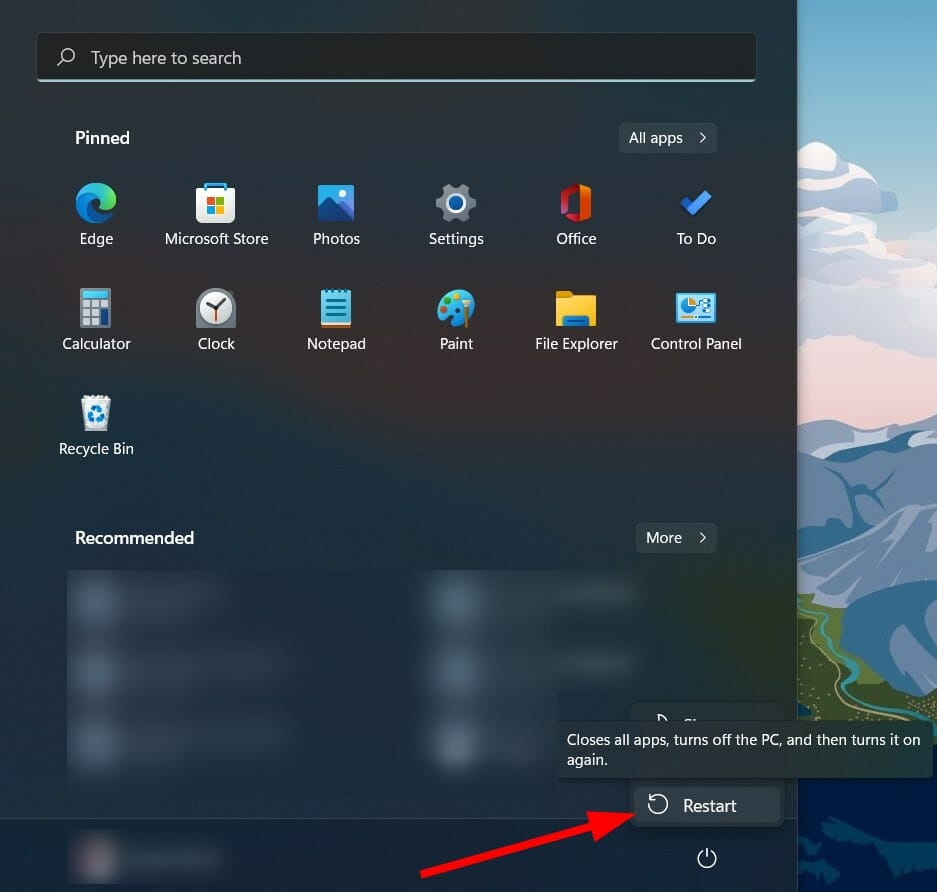
1. Restart your PC
Press the Start menu button.
Click on the Power button.
Select Restart.
One of the easiest solutions to many of the common problems related to software is to perform a simple restart.
Restarting not only provides your system a break, but it also loads all system and necessary files from scratch. There are chances that some Outlook files failed to load during the previous session, due to which you are experiencing Microsoft Outlook disconnected error.
2. Check and re-enter your account credentials
Open the Outlook app on your PC.
Click on File.
Select Info.
Then besides Account and Social Network Settings, click Account Settings.
Again select Account Settings.
Select the account that you have connected.
Remove the account and re-enter your account credentials.
3. Ensure Outlook is online
Open the Outlook app.
In the Send/Receive tab, hit the Work Offline button.
Outlook will attempt to reconnect.
4. Remove trailing space from legacyExchangeDN
Press Win + R to open the Run dialog box.
Type ADSIEdit.msc, and press Enter.
Expand the Default naming context to CN=Users.
Select the user account on which Outlook is prompting the error.
Right-click and select Properties.
Locatethe legacyExchangeDN attribute, and then select Edit.
Remove the extra space at the end of the username.
Click OK and Apply.
Exit ADSIEdit.msc.
Restart Outlook and see if this fixes the Outlook disconnected error or not.
After you remove the extra space from your username, all recipients who previously received a message from your username will get a non-delivery report (NDR) if they try to reply to the email with the old username.
5. Run Outloook in safe mode
Press Win + R to open the Run dialog box.
Type outlook.exe/safe and hit Enter.
Disable all installed add-ons.
Restart the program and see if this fixes the issue.
6. Create a new Outlook profile
Open the Microsoft Outlook application.
Click File tab and select Account Settings.
Select Manage Profiles.
Click on Show Profile.
Choose Add.
Enter the name for your new Outlook profile and press OK.
Add your email account to your Outlook profile.
7. Repair Outlook account
Open the Outlook application.
Click on the File tab.
Select Info.
Besides Account and Social Network Settings, click on Account settings.
Select Account settings again from the drop-down menu.
Select your account and hit the Repair button.
8. Configure a proxy server
Open the Outlook application.
Click on the File tab.
Select Info.
Besides Account and Social Network Settings, click on Account settings.
Select Account settings again from the drop-down menu.
Tap on your account and click on Change.
Then click on More Settings.
Choose Connection tab.
Select the option to Connect to Microsoft Exchange using HTTP.
Click on Exchange Proxy Settings.
Enter the URL to connect to a proxy server.
Select Connect using SSL only.
Also select Only connect to proxy servers that have principal name in their certificate option.
Enter must: URL.
Under Proxy authentication settings, select authentication type Basic authentication or NTLM authentication and press OK.
9. Disable extensions
Open the Outlook application.
Click on the File tab.
Select Options from the left side.
Select Add-Ins from the left pane.
On the bottom, select Go.
Uncheck all the extensions and hit the OK button.
There are chances that the extensions that you have installed or enabled for your Outlook app to enhance the productivity and features might be interfering with the connection.
In such a case, following the above-mentioned steps, you can disable the extensions and then try to connect them.
10. Rebuild Outlook data file
Open the Outlook application.
Click on the File tab.
Select Info.
Besides Account and Social Network Settings, click on Account settings.
Select Account settings again from the drop-down menu.
Select the Data Files tab.
Choose the email account that is causing the issue, then tap on Open File Location.
Rename the file or move it to another location.
Launch Outlook again and see if this fixes the Outlook disconnected error.
The Outlook application saves all the data in a particular folder. If you are experiencing connectivity issues, then you can try to rebuild the Outlook data file.
In this step, we will delete the old Outlook data file and rebuild the Outlook data file. This will help rebuild the missing or lost data files from scratch.
11. Reinstall/Repair Outlook
Press Start menu and search for Control Panel.
Select Programs and Features.
From the application manager, select Microsoft Office and hit the Change button.
.png)