Having a Nintendo Network ID and Local User profile on Wii U will enable the console to store your saved game data, achievements, screenshots and video to the cloud as well as remember your preferences.
What you need before you start:
The Nintendo Wii U should be connected to a reliable Internet connection.
2. Create Nintendo Network ID
On the Wii U Menu, select the Mii character in the upper-left corner to access the User Settings.
Select Create / Link Nintendo ID.
Select Next to proceed through the screens.
When asked if you already have a Nintendo Network ID, select No.
You will be prompted to link a Nintendo Network ID and create a Mii character or select one that has already been created.
Follow the on screen instructions.
A confirmation e-mail will be sent to the e-mail address you provided. Follow the instructions in the e-mail to complete the e-mail verification process.
The Nintendo Network icon should now appear next to your Mii on the User Select screen.
3. Create New User
A New User account (local account) can be linked to a Nintendo Network ID at any time after it is created. Once a Nintendo Network ID is linked to the account, the system's online features will be available.
On the Wii U Menu, select the Mii character
in the upper-left corner to access the User Settings.
Select Switch User.
Select Add New User.
Select Next to proceed through the screens.
When asked if you already have a Nintendo Network ID, select No and select Next.
Once the Mii has been registered, select Next.
When asked if you would like to create a new Nintendo Network ID, select Later.
When asked whether you would like to enable Parental Controls for this account, select Not Now if Parental Controls aren't needed.
Once the process is finished, you will be brought to the Wii U HOME menu.
4. Delete User Profile
On the Wii U Menu, select the Mii character
in the upper-left corner to access the User Settings.
Select the User Account that you want to delete and select Delete This User.
The nickname and Nintendo Network ID associated to the account will display.
Select Next to continue.
Select Understood to agree to delete the save data and play times associated with the user.
Select Next to continue.
Select Delete. Your Nintendo Network ID will not be deleted, and can be relinked to the same system in the future.
Select OK to return to the Wii U HOME Menu.
5. Create a Child's Account
If you already have a Nintendo Account
Sign In to your Nintendo Account at "http://accounts.nintendo.com".
Select Parental Controls.
Select Create an account for a child.
Next, enter information for the child who will use the account.
After confirming the content, select OK.
If you do not already have a Nintendo Account
Visit "http://accounts.nintendo.com".
Select Create a Nintendo Account and follow the instructions on screen.
After creating the parent or guardian's Nintendo Account, follow the instructions above to create a child account.
6. Parental Controls
From the Wii U main menu, select Parental Controls.
Tap Next.
Tap Next.
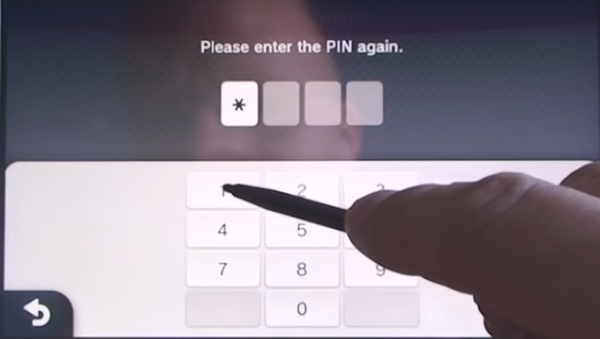
Create the 4-digit PIN.
Enter the PIN again.
Select OK.
You'll need to select a secret question. This is in case you forget the PIN.
Type in your answer.
Tap OK to confirm your answer.
Select OK.
Another fail safe if you forget your PIN, is signing up an email address. You can select Next to type in your email address or select X No E-mail Address.
You're now ready to set your Parental Control Restrictions.
Using the Gamepad, select the Mii of the user you want to adjust the Parental Controls of.
You can adjust game ratings, online interactions, apps, and shopping. If a restricted user tries to access the item, they will need to input the saved PIN.
You can adjust these settings at any time using the PIN. You can also delete or reset all the settings at once by using the Delete All Settings button.
.png)