How to use the Transactions page on Wave Financial
Authored by: Support.com Tech Pro Team
1. Introduction
How to use the Transactions page on Wave Financial
2. Transactions page
Filter transactions by clicking the Filter button on the top right of the page. There are six kinds of filters:
1: Filter by Category to view transactions under a selected category
2: Filter by Status to view transactions that are Reviewed or Unreviewed
3: Filter by Types , to view a specific type of transaction: Deposit, Withdrawal, or Journal transactions
4: Filter using the Receipt filter, and select either Attached or None to view transactions with or without attachments
5: Filter by date range to view all the transactions within a specific timeframe
6: Filter by Wave auto-updates and select either Categorizations or Merges, or both to view transactions that were automatically categorized and/or merged.
7: Filter by last modified date range to view all the transactions modified within a specific timeframe
Sort: You can sort transactions based on the date from newest to oldest or oldest to newest by clicking on the Sort button on the top right of the Transactions page.
Search: You can search by description to find a specific transaction, by clicking the Search icon on the top right of the page.
Add Transactions: Click on the Add Income or Add Expense buttons to create a new Withdrawal or Deposit for your business.
Add Journal Transactions:Journal transactions are for more complex accounting entries that you cannot complete with a simple transaction (for example: opening balances, long-term asset or liability entries, adjustment entries, payroll entries). To create a journal entry, click on the More button at the top right of the Transactions page, then select Add journal transaction.
Connect Your Bank or Upload a Bank Statement:Save time on your transactions data entry by automatically importing your transactions, by connecting your bank account to Wave. Alternatively, manually export statements from your bank and upload them into Wave, or use Wave Connect to import transactions.
Categorize: Each transaction you enter needs to be categorized. Indicate what type of transaction it is, what account it belongs to, and if it's tied to an invoice or bill to keep your bookkeeping accurate. To categorize a transaction, click on the category field of the transaction. You will see a list of accounts you can select from. If you don't see the account you want, you can create a custom account by selecting the option Add a new category at the bottom of the list. This will create a new account under your Chart of Accounts.
Assign Sales Taxes: If you are being charged tax for your purchases, or charging taxes on your sales, you can manually assign taxes to your transactions. To create a new sales tax, check out How to add a sales tax.
Split: To assign a transaction to multiple categories in your Wave account, you can split the transaction.
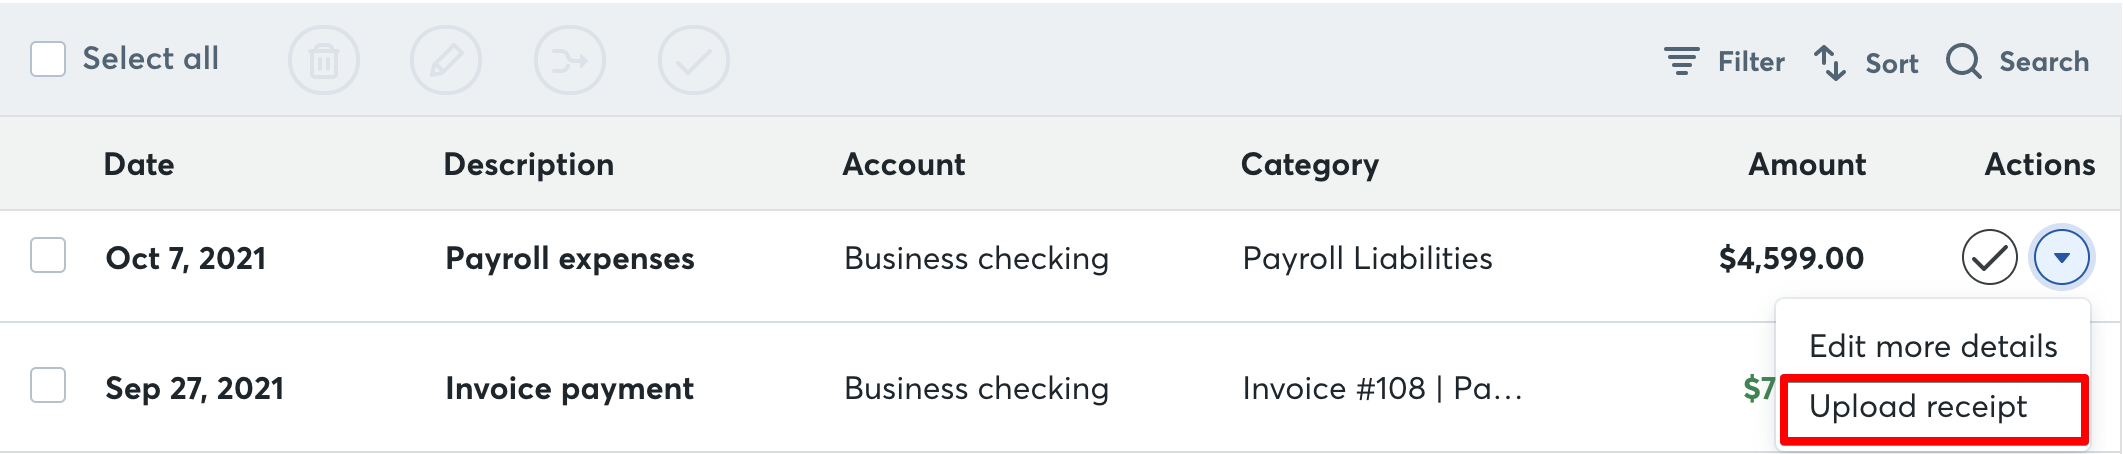
Add attachments: To upload a receipt or add an attachment, click on the dropdown menu to the right of a transaction and select Upload Receipt. Learn more about uploading receipts here.
Add Notes: In the transaction detail view, click on the Notes tab to add notes to your transactions.
Delete: To delete a transaction, select the checkbox to the left of the transaction on the Transactions page, and click the Delete button at the top of the page. You can also delete a transaction by opening the transaction detail view, and clicking on the trash can icon at the bottom right. Ensure you’ve selected the correct transactions, and are sure you want to delete them, before you hit the Delete button.
.png)